How to get your Blockcerts
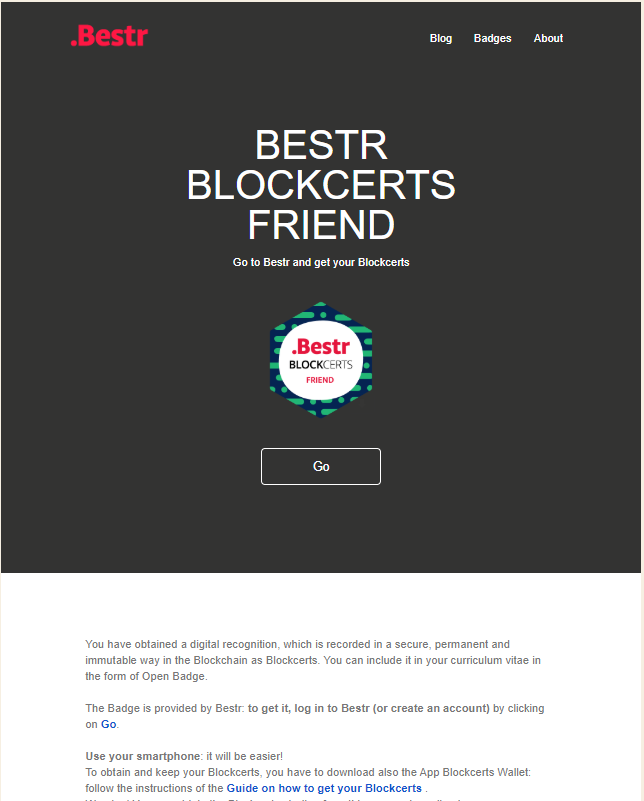
1) Click on the email
You received an email from Bestr with "Go and claim your Blockcerts" as subject.

Click on "GO".

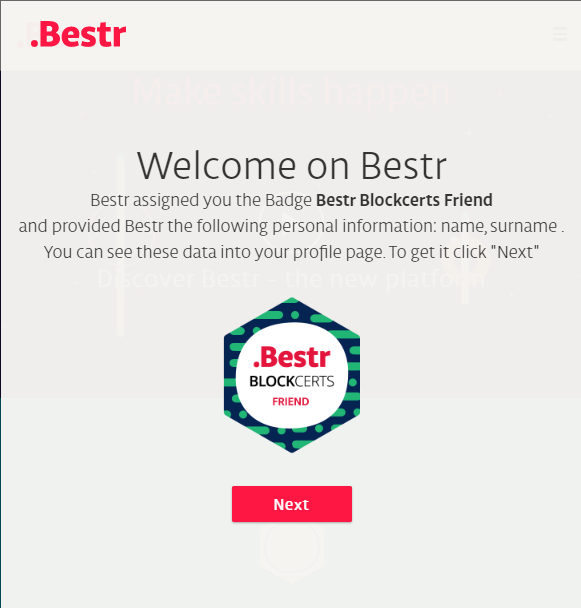
2) Log in to Bestr
If you already have a Bestr account or if your instituton is part of the IDEM/Edugain federations you can log in to Bestr, otherwise you have to register to Bestr.

Click "Log in" or "Register", accordingly.
3) Claim your Blockcerts
Now your Open Badge credential is available on Bestr. However, the issuing institution allows you to have it also as Blockcerts, so that its authenticity can be always verified by third parties directly in the Blockchain, without the need to contact either Bestr or the issuing institution.

By clicking on “Get Blockcerts” you start the process to create the Blockcerts and its permanent notarization in the Blockchain.
What is stored on the Blockchain? Read the FAQs
Click on “Get Blockcerts” and display the page with the information to create your Blockcerts. The page opens in a new tab.

4) Download the App Blockcerts Wallet
Download the App Blockcerts Wallet on your smartphone:
Run it and save your passphrase. Now you have a single recognition number which can be entered in your Blockcerts.
The App is used to manage your id for the Blockcerts and to give it to the organizations you want to authorize to appoint Blockcerts. Moreover, you can also use it to store and share all your Blockcerts.
5) Add the issuing institution
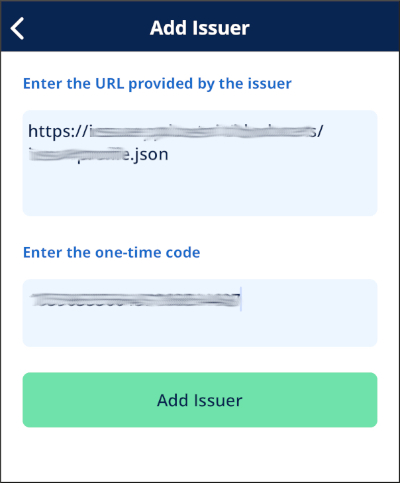
Now that you have your id, you have to communicate it to the organization that wants to provide you with the Blockcerts. To do so, add the organization to the authorized issuing institutions inside the App.
By scanning the QR code showed in the English page which opens from Bestr with the smartphone on which the App is installed, the App will open and the issuing institution will be added. Otherwise, choose to add the issuing institution manually from the App setting and copy the two codes provided by the page: Recognition URL and One-time Code.

6) Wait for the Blockcerts to be notarized
Now we have all the necessary information to write your Blockcerts and to save it in the blockchain. This operation is not immediate. Once your Blockcerts is ready, you receive an email and you find it in your Bestr profile.
7) Receive the email: your Blockcerts is ready
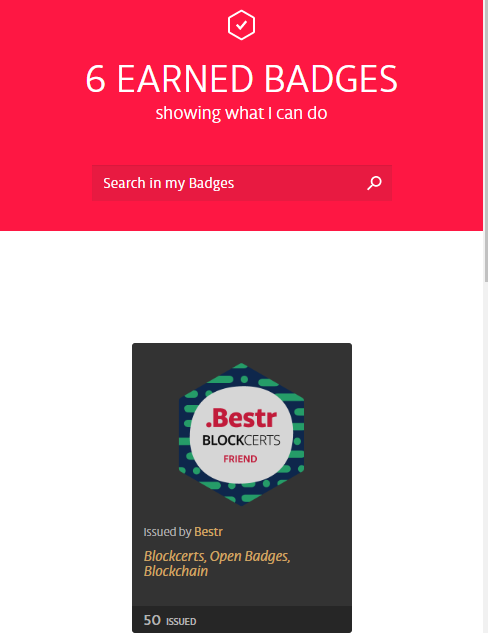
Login to Bestr and go to “My Badge” to find your Badge with the related Blockcerts.


